Laser radiation: avoid eye or skin exposure to direct or scattered radiation. Before using this product, read and follow all notices and safety information. Read the safety guidelines in the LaserCube WiFi manual (PDF) before your first use.
Step 1 of 5
Getting to know your LaserCube
Before you switch anything on, see what came in the box and learn what the parts of your cube do.
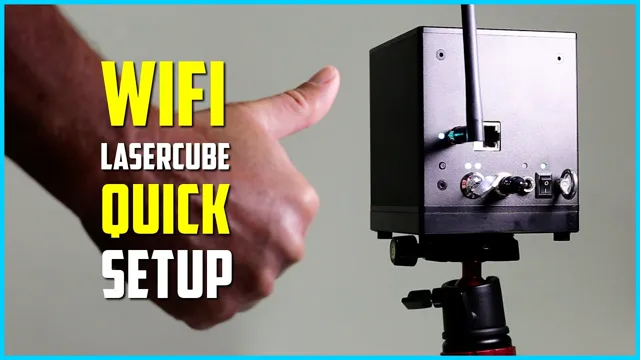
In the box
- The cube in its case, with its 19V charger (with a plug or cable for your country).
- An Ethernet cable, and a USB‑C to Ethernet adapter.
- Spare keys, the interlock jumper and the WiFi antenna. US orders include an E‑Stop Kit.
The parts to know first
- Laser aperture: laser light is emitted from this opening.
- Beam blocker: prevents laser emission and also restricts the laser scan from going into an audience.
- Key control: prevents accidental operation. Its LEDs show whether the LaserCube is locked or unlocked, and when the lasers are emitting.
- Remote interlock connector: a safety shut‑off for the laser emission. A jumper for it is included.
- Mode button and Status LED: the button selects the connection mode, and the LED’s colour shows it.
- Power input and charge LED: the charge LED changes from red to green as the battery charges.
Go deeper: WiFi manual (PDF): parts diagram and specifications
Step 2 of 5
Turning on your device
The key control prevents accidental operation, and the remote interlock is a safety shut‑off for the laser emission.
Before the key goes to green, set the beam block, with the cube powered off and the key out (step 5). A short press of the Mode button makes the cube project a line of text with its laser.
- Charge through the DC power input. The charge status LED changes from red to green.
- Turn on the LaserCube with the power switch. When it is powered on for the first time, it is in WiFi Server mode.
- Make sure the interlock plug is fitted, then turn the key switch from red to green.
- The two emission warning LEDs come on.
- Press the Mode button briefly: the cube projects its firmware version, then “WIFI SERVER” and “GWIP:192.168.1.1”. If no firmware version shows before the WIFI SERVER text, the firmware needs an update (see the manual).
If there is a power loss, or the remote interlock is opened and closed again, the key control has to be reset.
With an E‑Stop
In the USA every cube comes with an E‑Stop, and the beam won’t turn on without it. Outside the USA it is optional (the STADIUM bundle includes one). With an E‑Stop connected, start the laser like this:
- Connect the E‑Stop to the cube.
- Turn the cube’s key on, and the E‑Stop’s own key if it has one.
- Make sure the red button is up.
- Press the green START button. The LEDs go solid after about 10 seconds.
Go deeper: WiFi manual (PDF): setup guide
Step 3 of 5
Connecting your LaserCube
Out of the box the LaserCube is in WiFi Server mode: it makes its own WiFi network, and your phone or computer joins it.
- The Status LED flashes cyan: the cube is waiting for a connection.
- On your phone or computer, join the 2.4GHz WiFi network LaserCube. The password is Laser2020 (case sensitive). Your device may say the network has no internet connection: choose to stay connected.
- Once connected, the Status LED stops flashing and stays cyan.
Other connection modes
Hold the Mode button for over 2 seconds to open the mode menu, which the laser projects. Short presses step through the modes, and a long press selects the one shown (the cube restarts briefly to change mode).
- WiFi Server (Status LED cyan): the cube’s own WiFi network.
- WiFi Client (blue): the cube joins your router, using the router’s WPS button.
- LAN Server (yellow): an Ethernet cable straight to one phone or computer.
- LAN Client (green): an Ethernet cable to your router or switch.
Go deeper: WiFi manual (PDF): connection modes
Step 4 of 5
Getting started with LaserOS
Download and install LaserOS. It is available for Windows, Mac, iOS and Android.
- Connect your phone or computer to the LaserCube (step 3), then open LaserOS.
- LaserOS finds the connected LaserCube. On a computer, the power button at the top left reads NO LASER when no cube is found; it is red when the cube is found and the laser is off, and blue when it is projecting. In the phone app the button is in the middle of the bottom bar.
- Don’t start the laser yet: first set the beam block, so it prevents any scanning into audience areas (step 5).
- Turn the laser on and off with that power button. On a computer, pressing the Esc key also turns the laser off. If LaserOS says “Interlock is not enabled on cube”, the cube isn’t armed yet (step 2).
Go deeper: WiFi manual (PDF): setup guide·LaserOS FAQ
Step 5 of 5
Using your LaserCube
Before any show, set the beam block so no beam can scan into audience areas. All beams must stay at least 3 metres (10 feet) above the floor where people may be present.
Set the beam block
- Power the unit off and take the key out.
- Secure the projector’s aim, then adjust the beam block.
- Power the laser back on to check, and repeat until the beam block prevents any scanning into audience areas.
- Place laser warning signs in and around the venue, especially in areas the audience can reach.
Eye exposure to laser light can cause instant injury and permanent blindness.
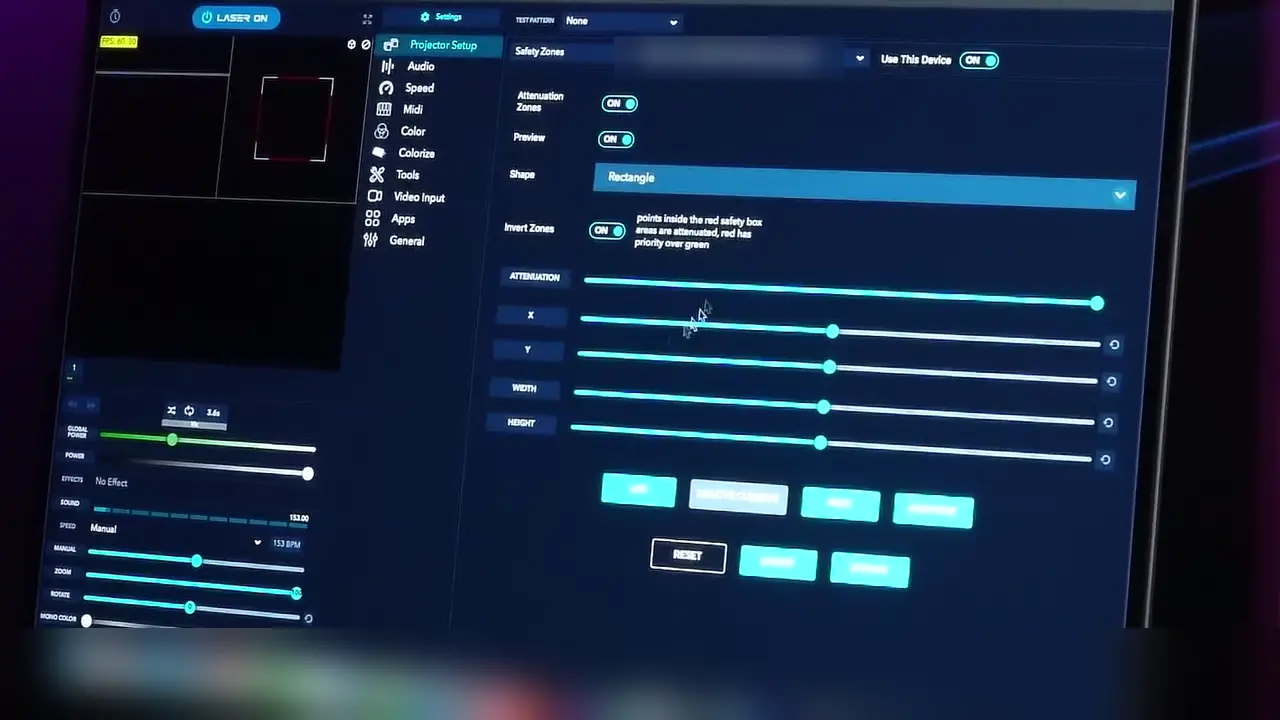
Safety zones in LaserOS
In the clip below, the video cuts a zone around a face drawn on a box and calls it “absolutely safe”. That is wrong: no zone, inverted or not, makes it safe to aim at people. Never aim a LaserCube at people, zone or not.
Autoplay
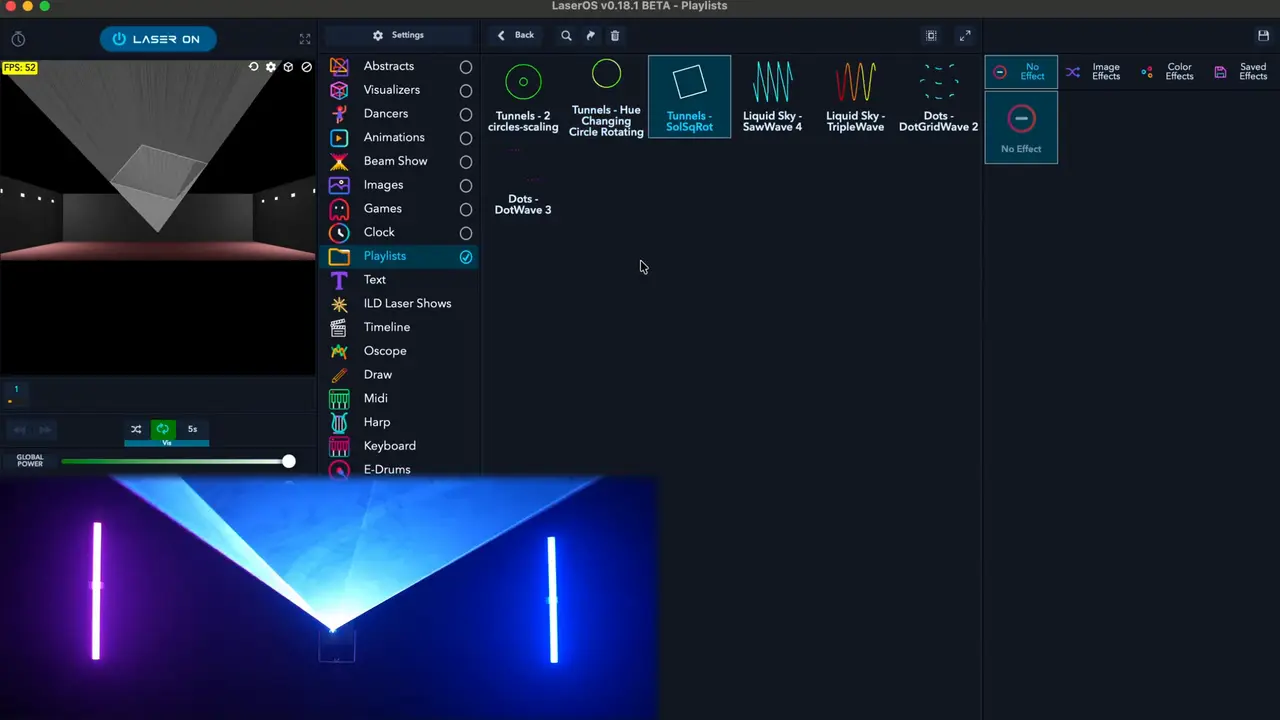
The LaserCube WiFi needs a phone, tablet or computer running LaserOS to play anything. Autoplay in LaserOS changes the content for you, but a running laser is never left unattended, even with other crew around.
Then make it yours
- The LaserCube WiFi manual (PDF)Parts, specifications, safety guidelines, the web admin page and firmware updates.
- TutorialsShort videos, one task each.
- FAQAnswers to common LaserOS and LaserCube questions.
Stuck? Email support@laseros.com.
Go deeper: WiFi manual (PDF): installation and safety guidelines