ULTRA MK2 Laser Show
Mk2 Laser Show Control Mode

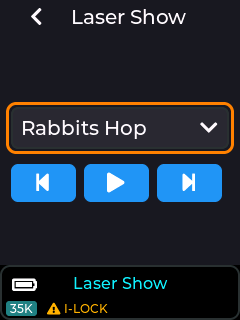
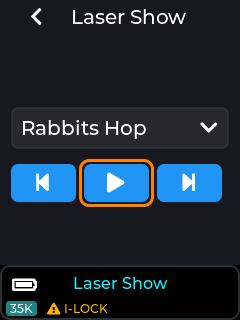
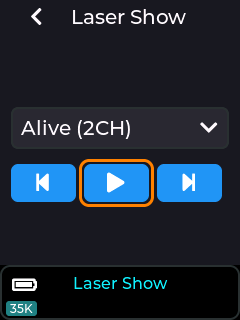
Selecting the Play icon will begin the show. Show audio will be played from the 3.5mm stereo audio output socket.
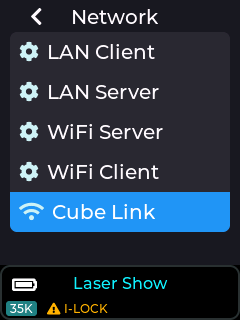
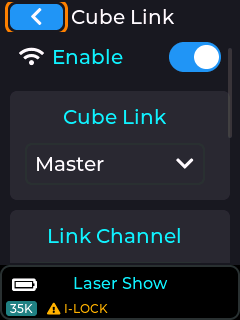
If Cube Link is enabled – see the Cube Link entry here:
https://wiki.laseros.com/index.php/ULTRA_MK2_Audio_Settings
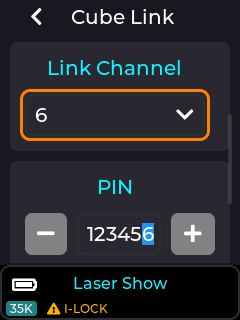
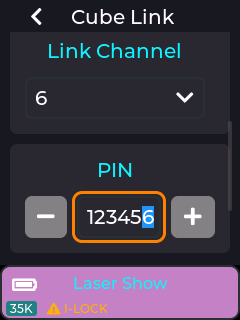
Selecting Play on a Cube Link Master will begin playback on the Master, plus any
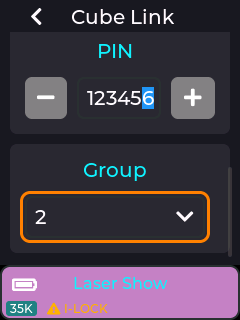
Cube Link Slave devices configured with the same Link Channel and PIN.
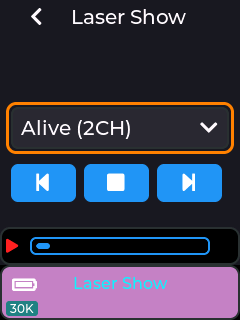
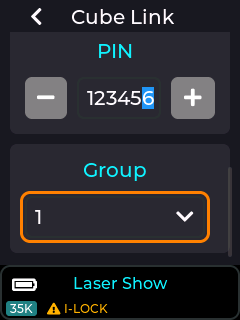
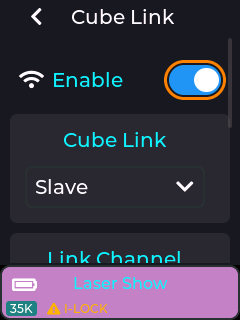
For laser shows designed for more than one projector, ensure the Group number is set on each Cube Link device. Cube Link connected Slave devices have the status area background changed to purple.
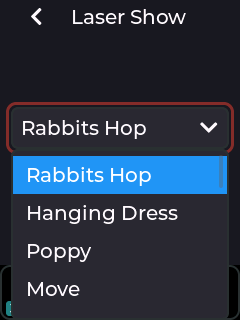
Note: The Laser shows are provided on the SD card supplied with the MK2. If no items are shown in the drop down then this could be due to the SD card not being inserted, or not having the factory contents present on the card. The latest SD card contents are available on our GitHub Here: https://github.com/Wickedlasers/mk2SDContent
Multi-projector Laser Shows
Using Cube-Link, the playback of multi-projector laser shows can be synchronized.
Note: Ensure WIFI Antenna’s are connected on all units before using Cube-Link.
Example: Alive (2CH) Laser Show
Choose one Mk2 Laser cube to be the Master. This will be the one which commands
playback to start on all the slaves. Set the Link Channel and PIN to be the same on all Cube Link connected devices. Select Group corresponding to the parts of the Laser Show, so for Alive (2CH) all Group 1 devices will project one part, all Group 2 devices the other.
Master
Slave
For a 2 channel show using 4 projectors, set 2 projectors to Group 1 and 2 projectors to Group 2. Only have one configured as a master though.
Selecting Alive (2CH) on the master will now start projection on all devices.